


Slider
Friday, June 12, 2015
2016 Senior Summer Special
Monday, November 17, 2014
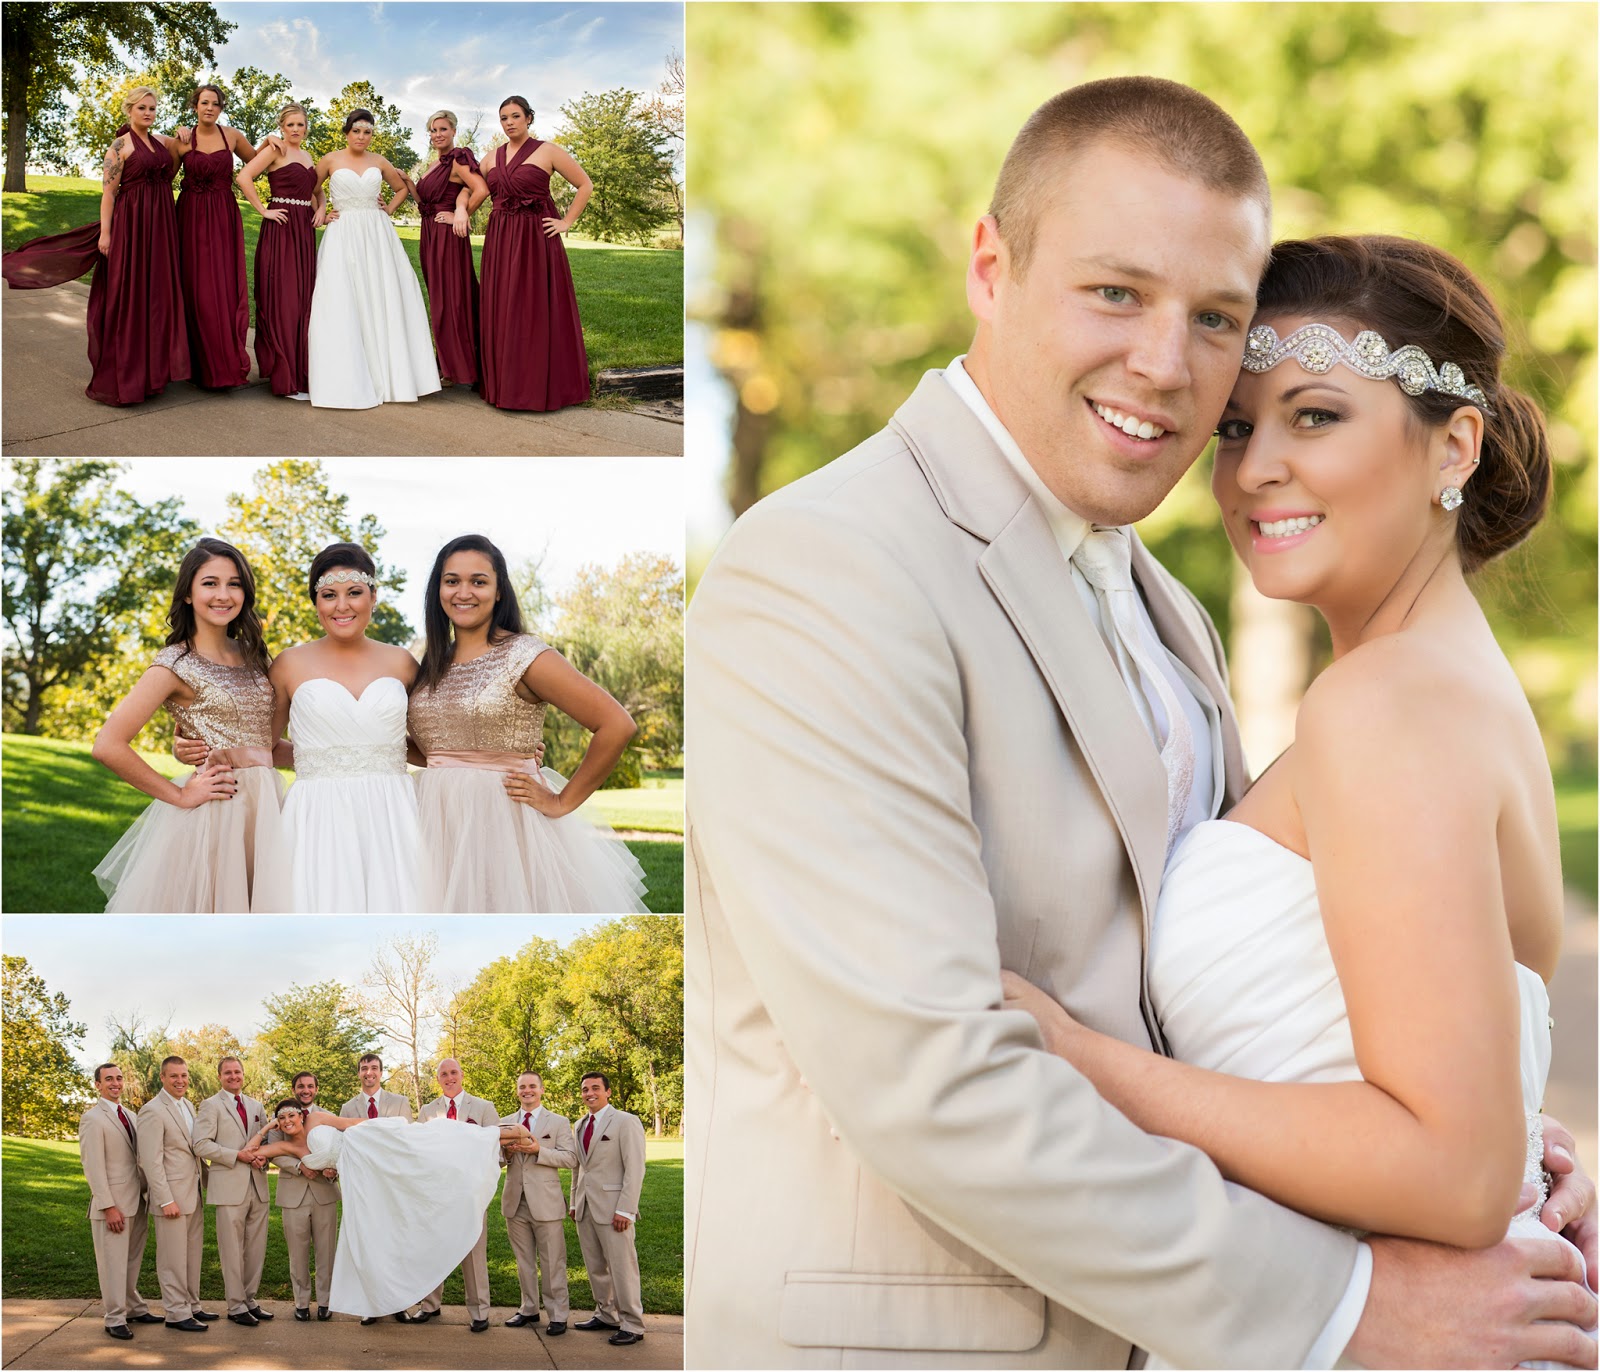
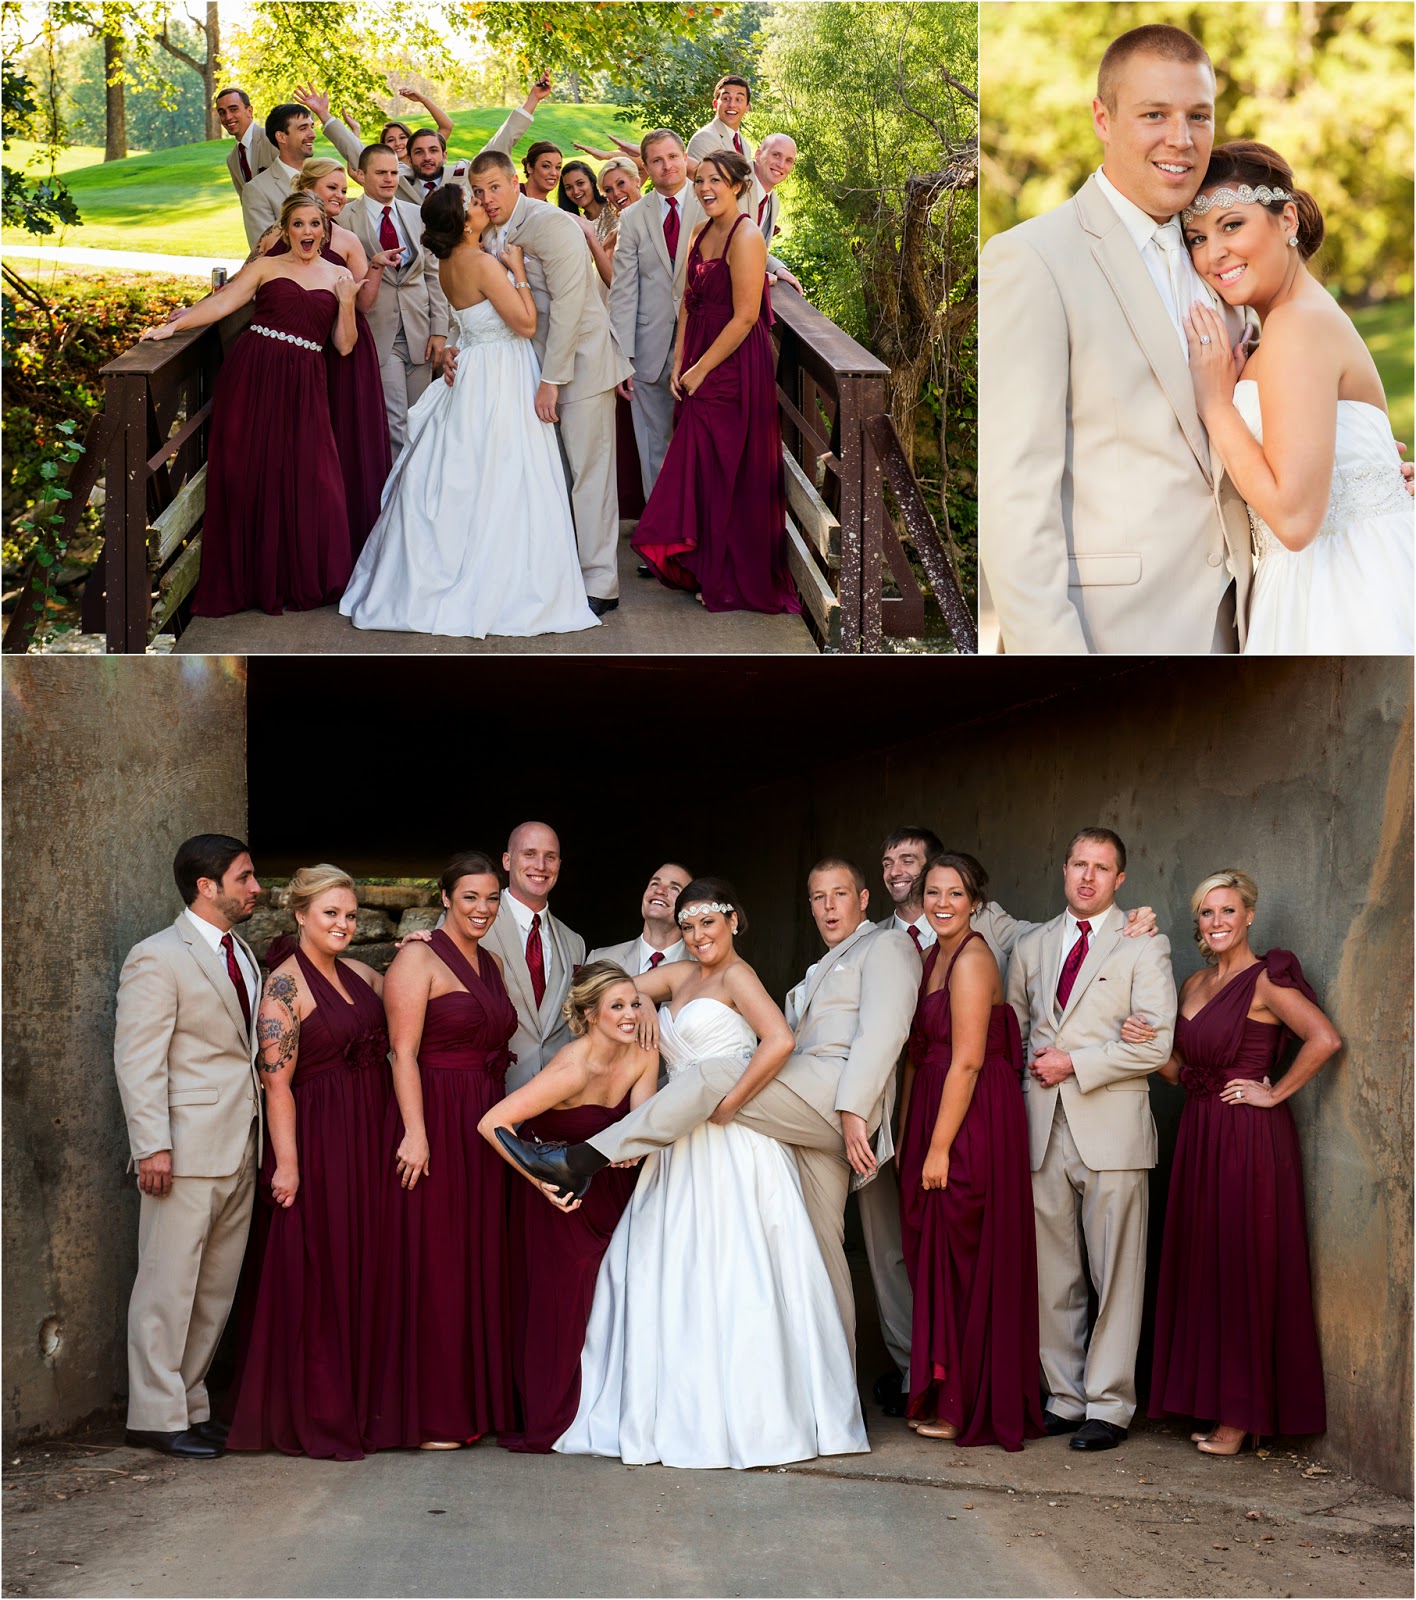
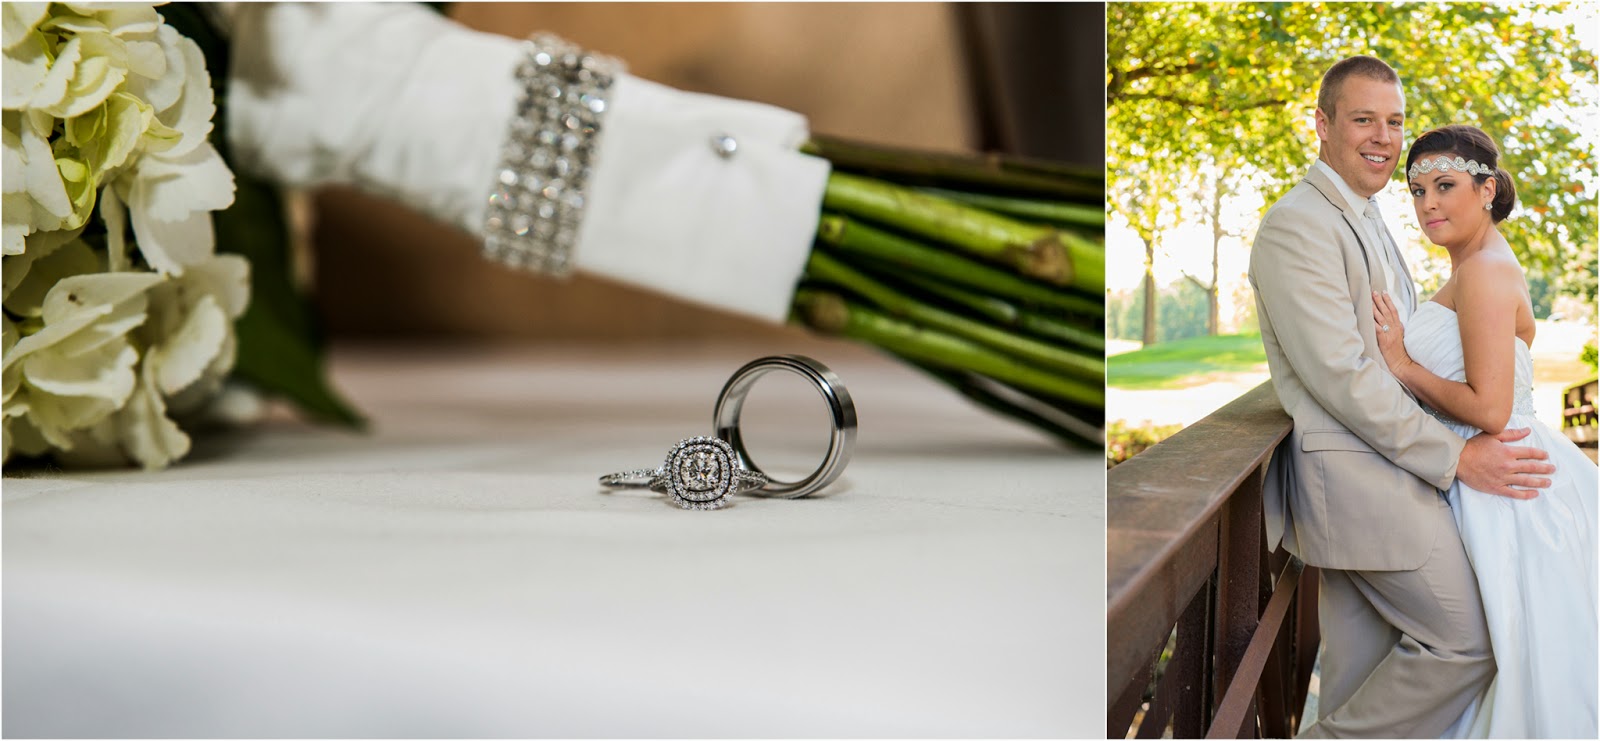
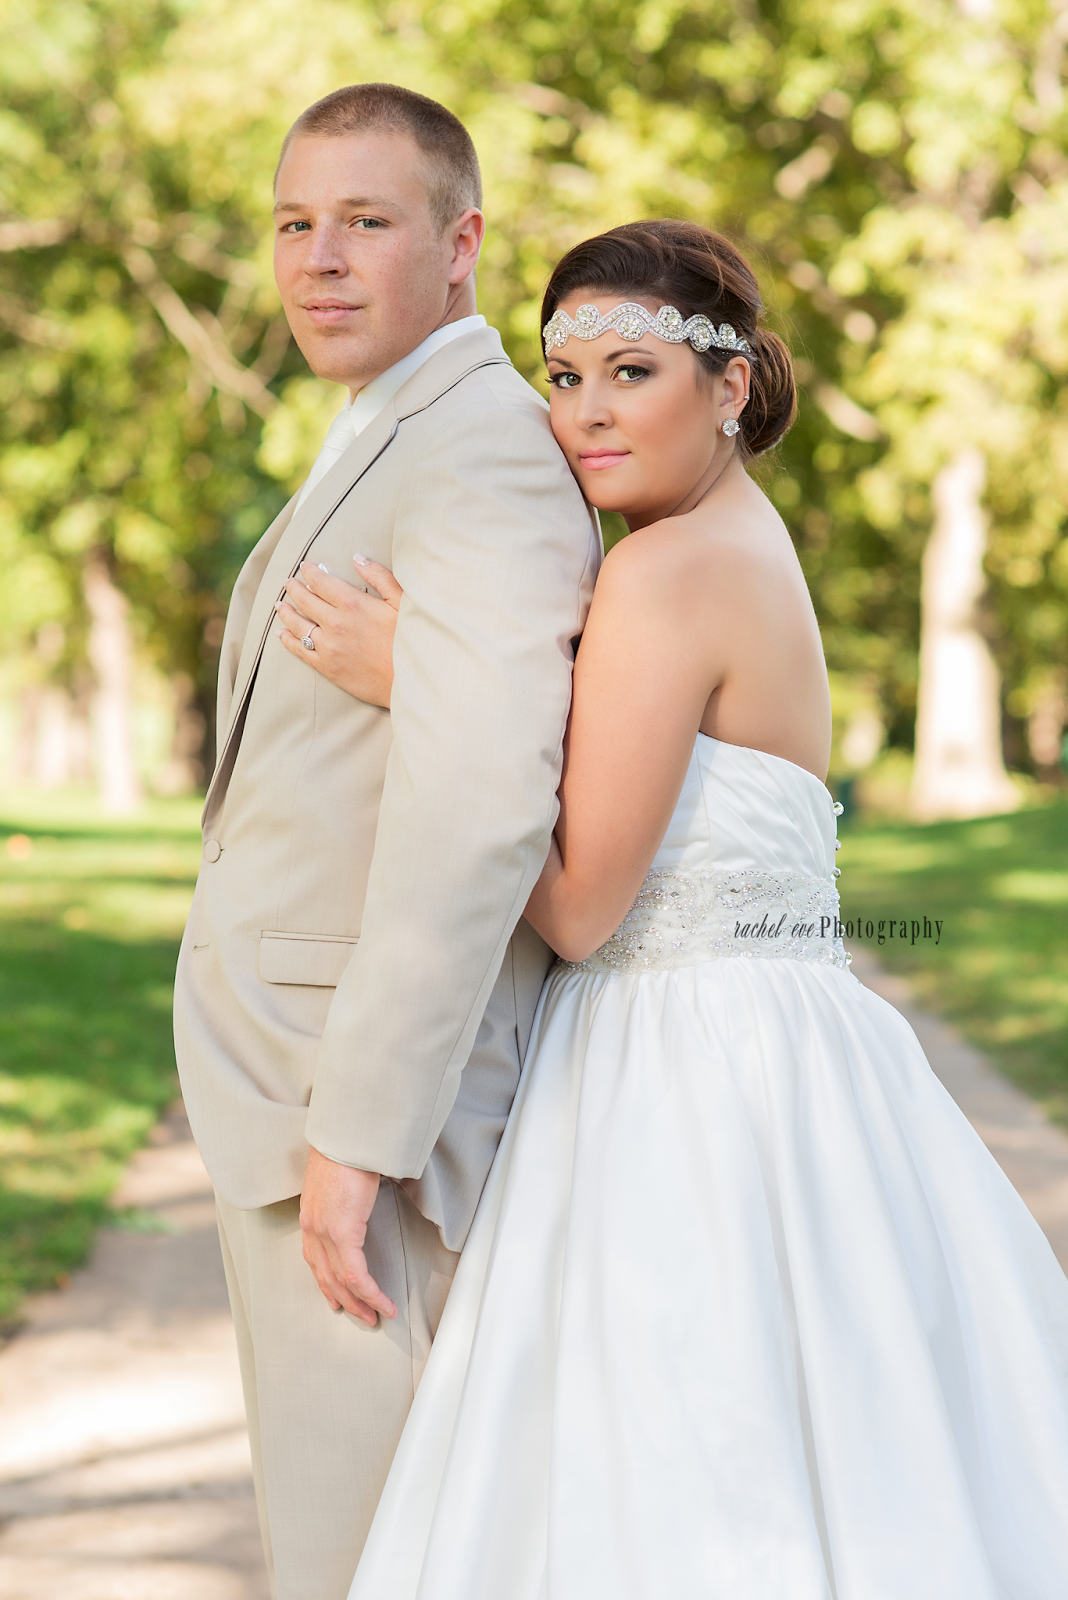
D&A Wedding Day | Kansas Wedding Photography
I've know this beautiful bride since Jr. High School and I was beyond excited and honored when she asked me to fly back home to photograph her big day! To make it even better, I got to work with Jill of Photography by Jill Renee as my second shooter. She's fab & fun. ;)
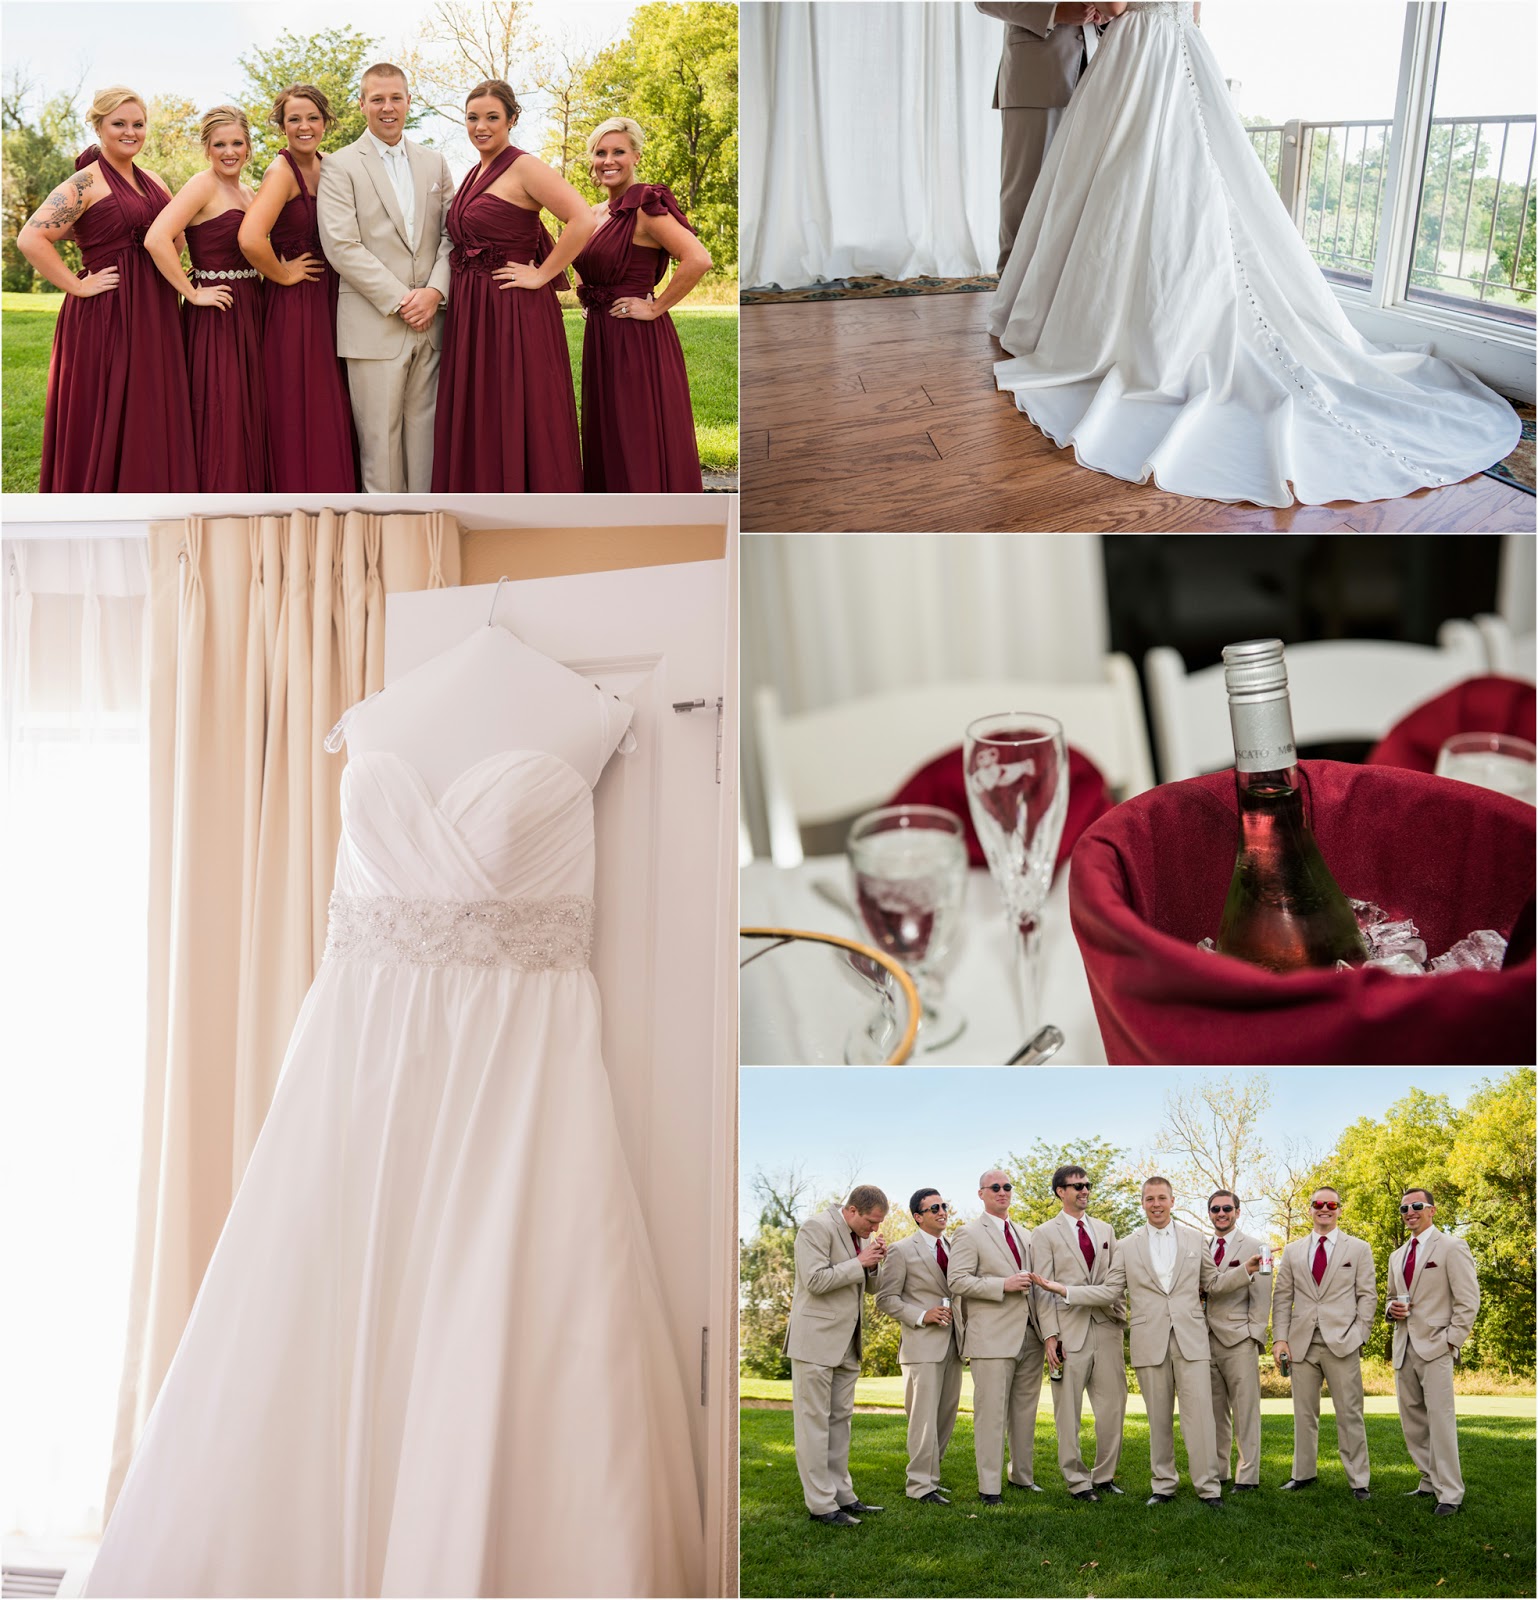
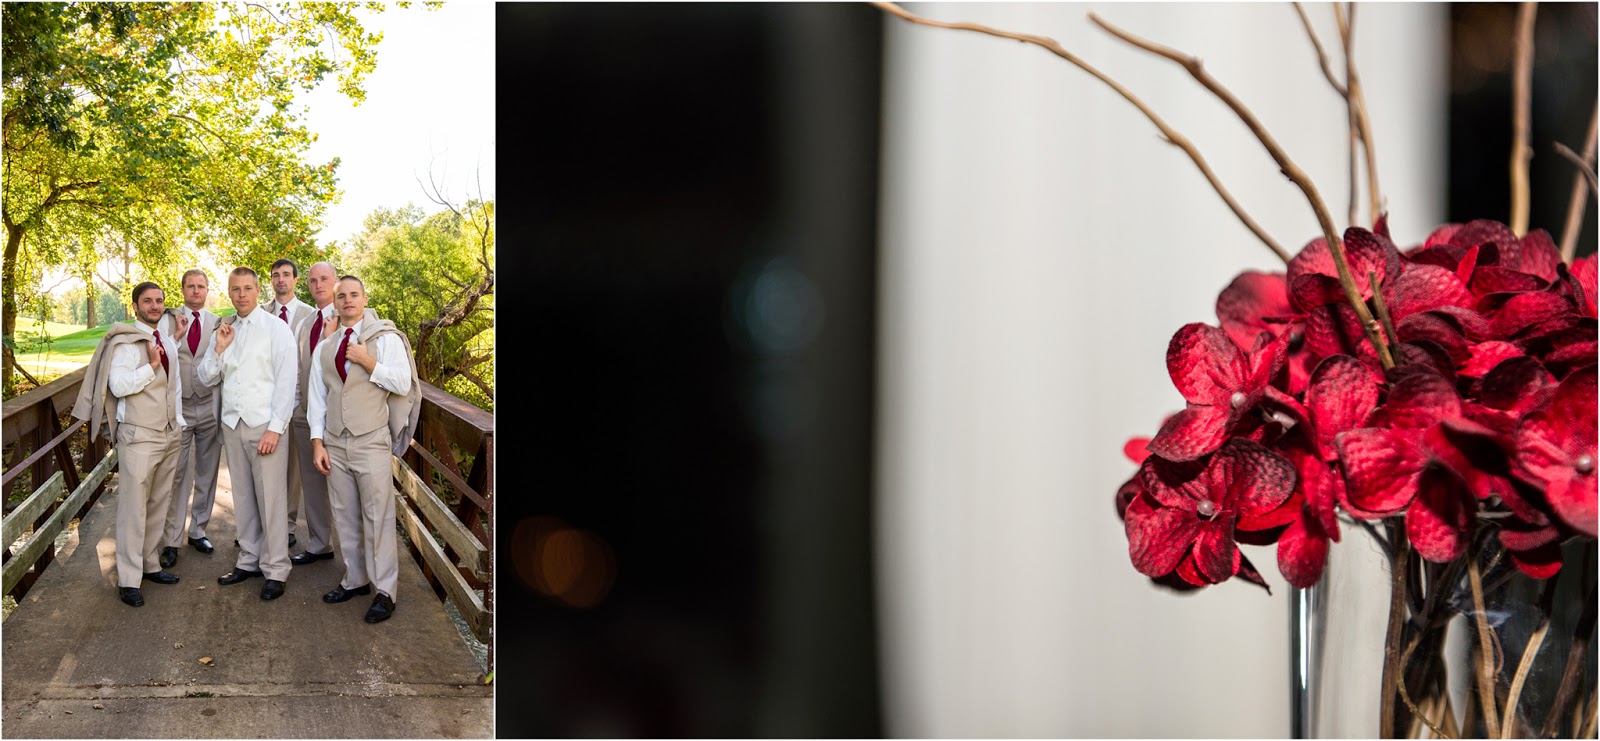
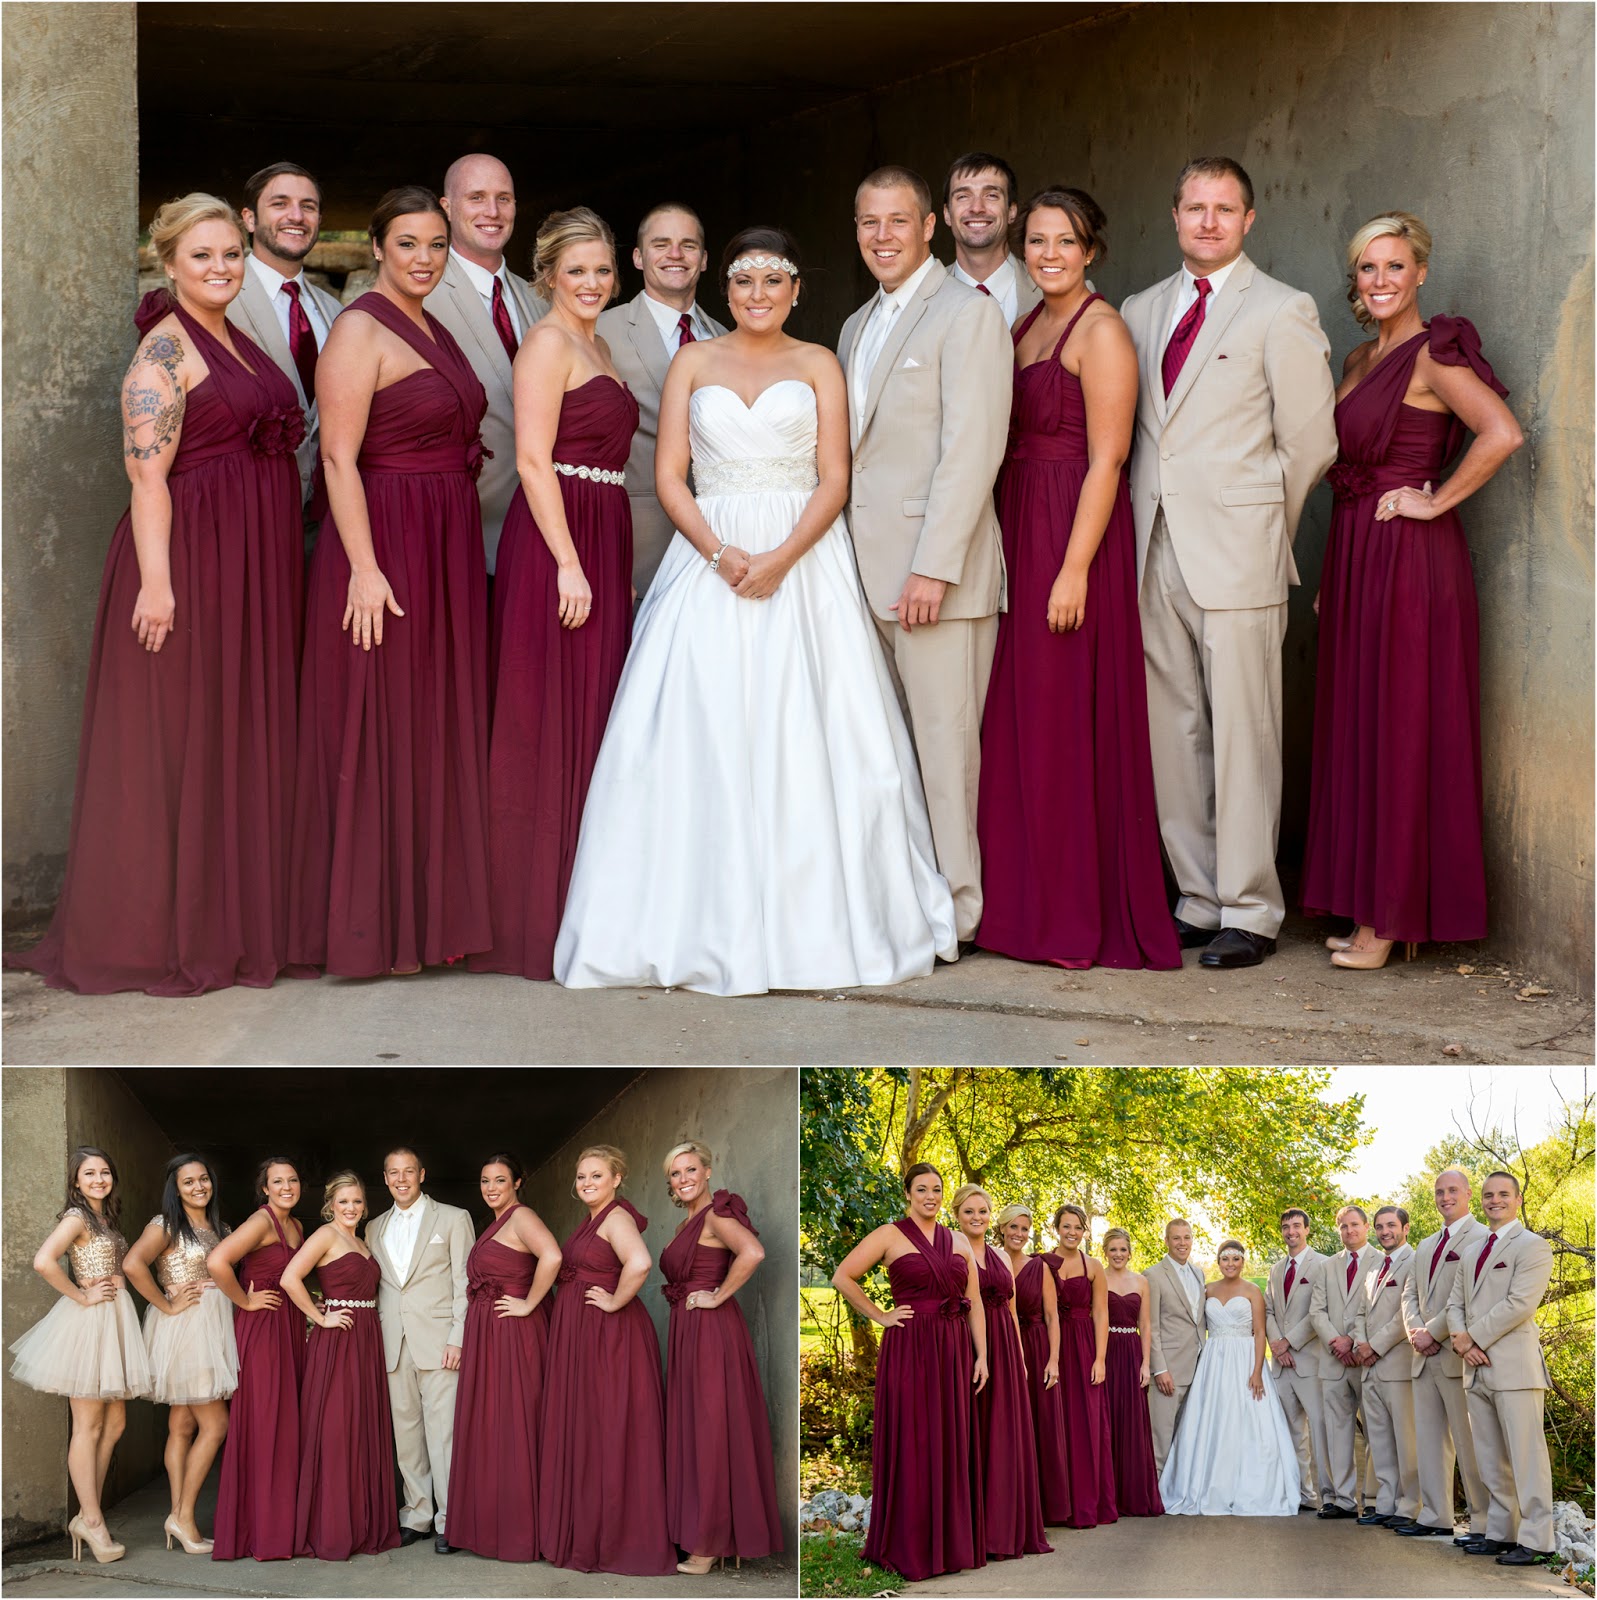
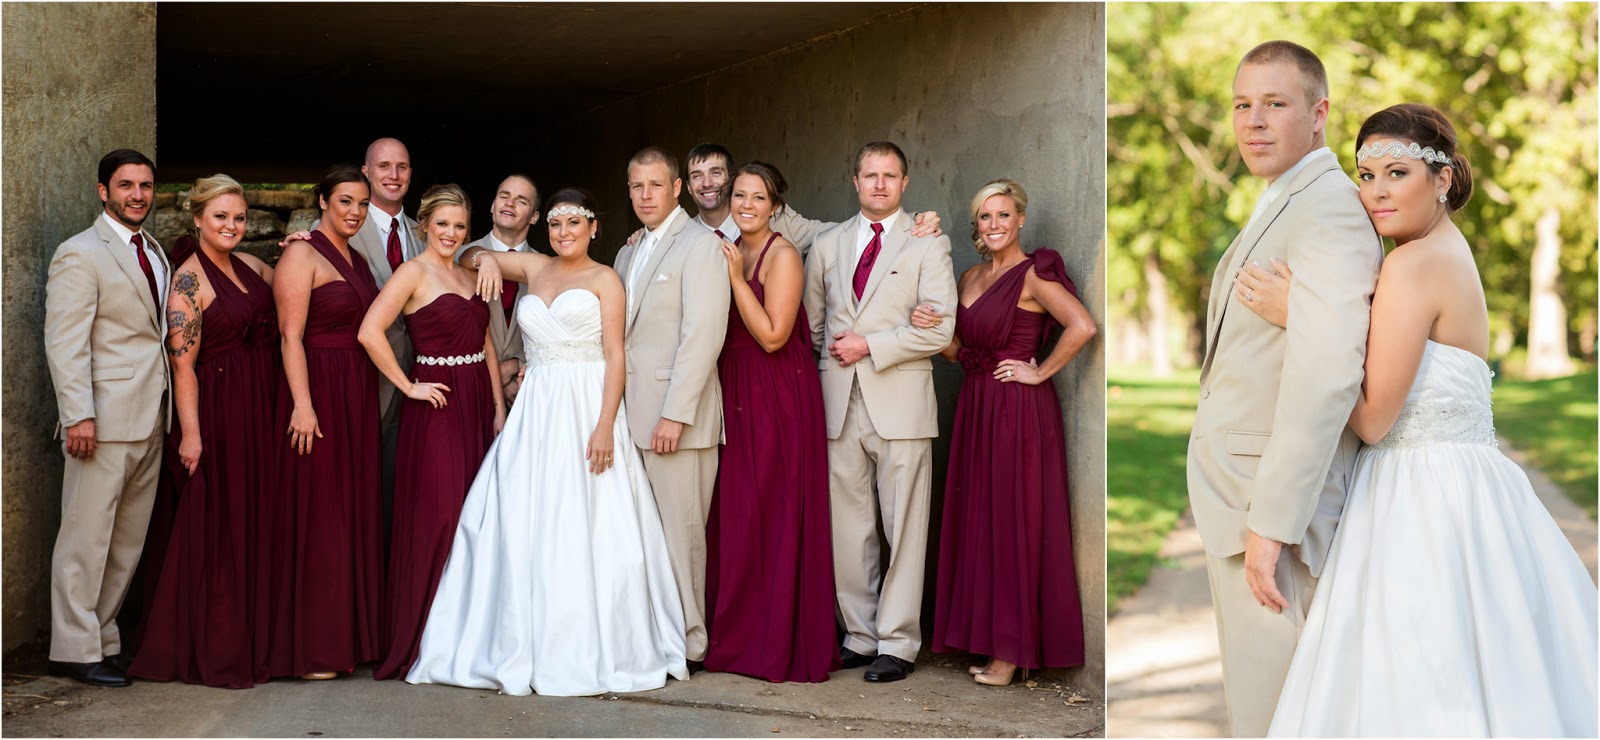
Here are just a few of my favorites from the day!


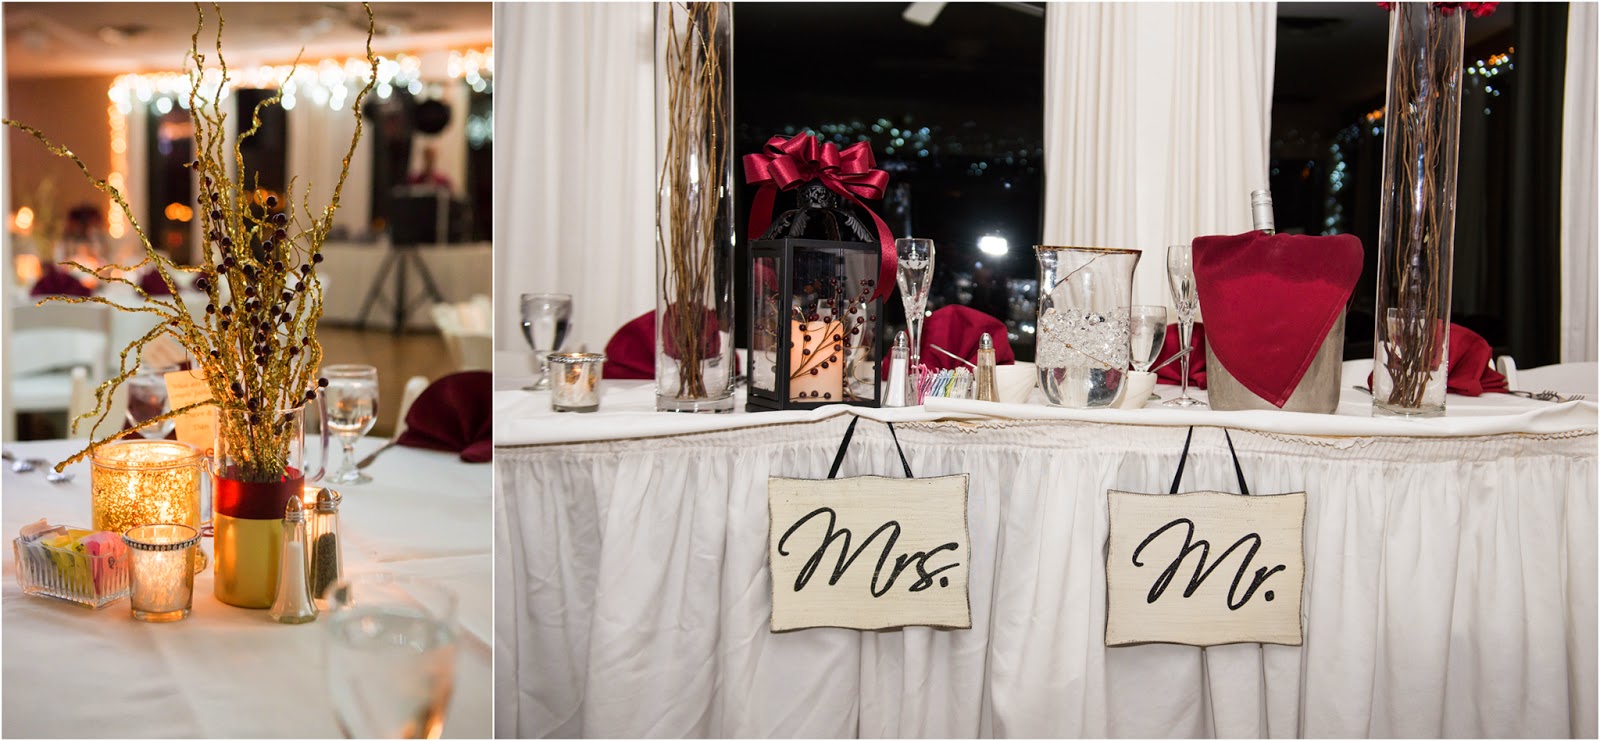


If you've never had the opportunity to see a lantern launch, add it to your bucket list. Now. It is beyond gorgeous to see for yourself!


Here are just a few of my favorites from the day!
If you've never had the opportunity to see a lantern launch, add it to your bucket list. Now. It is beyond gorgeous to see for yourself!
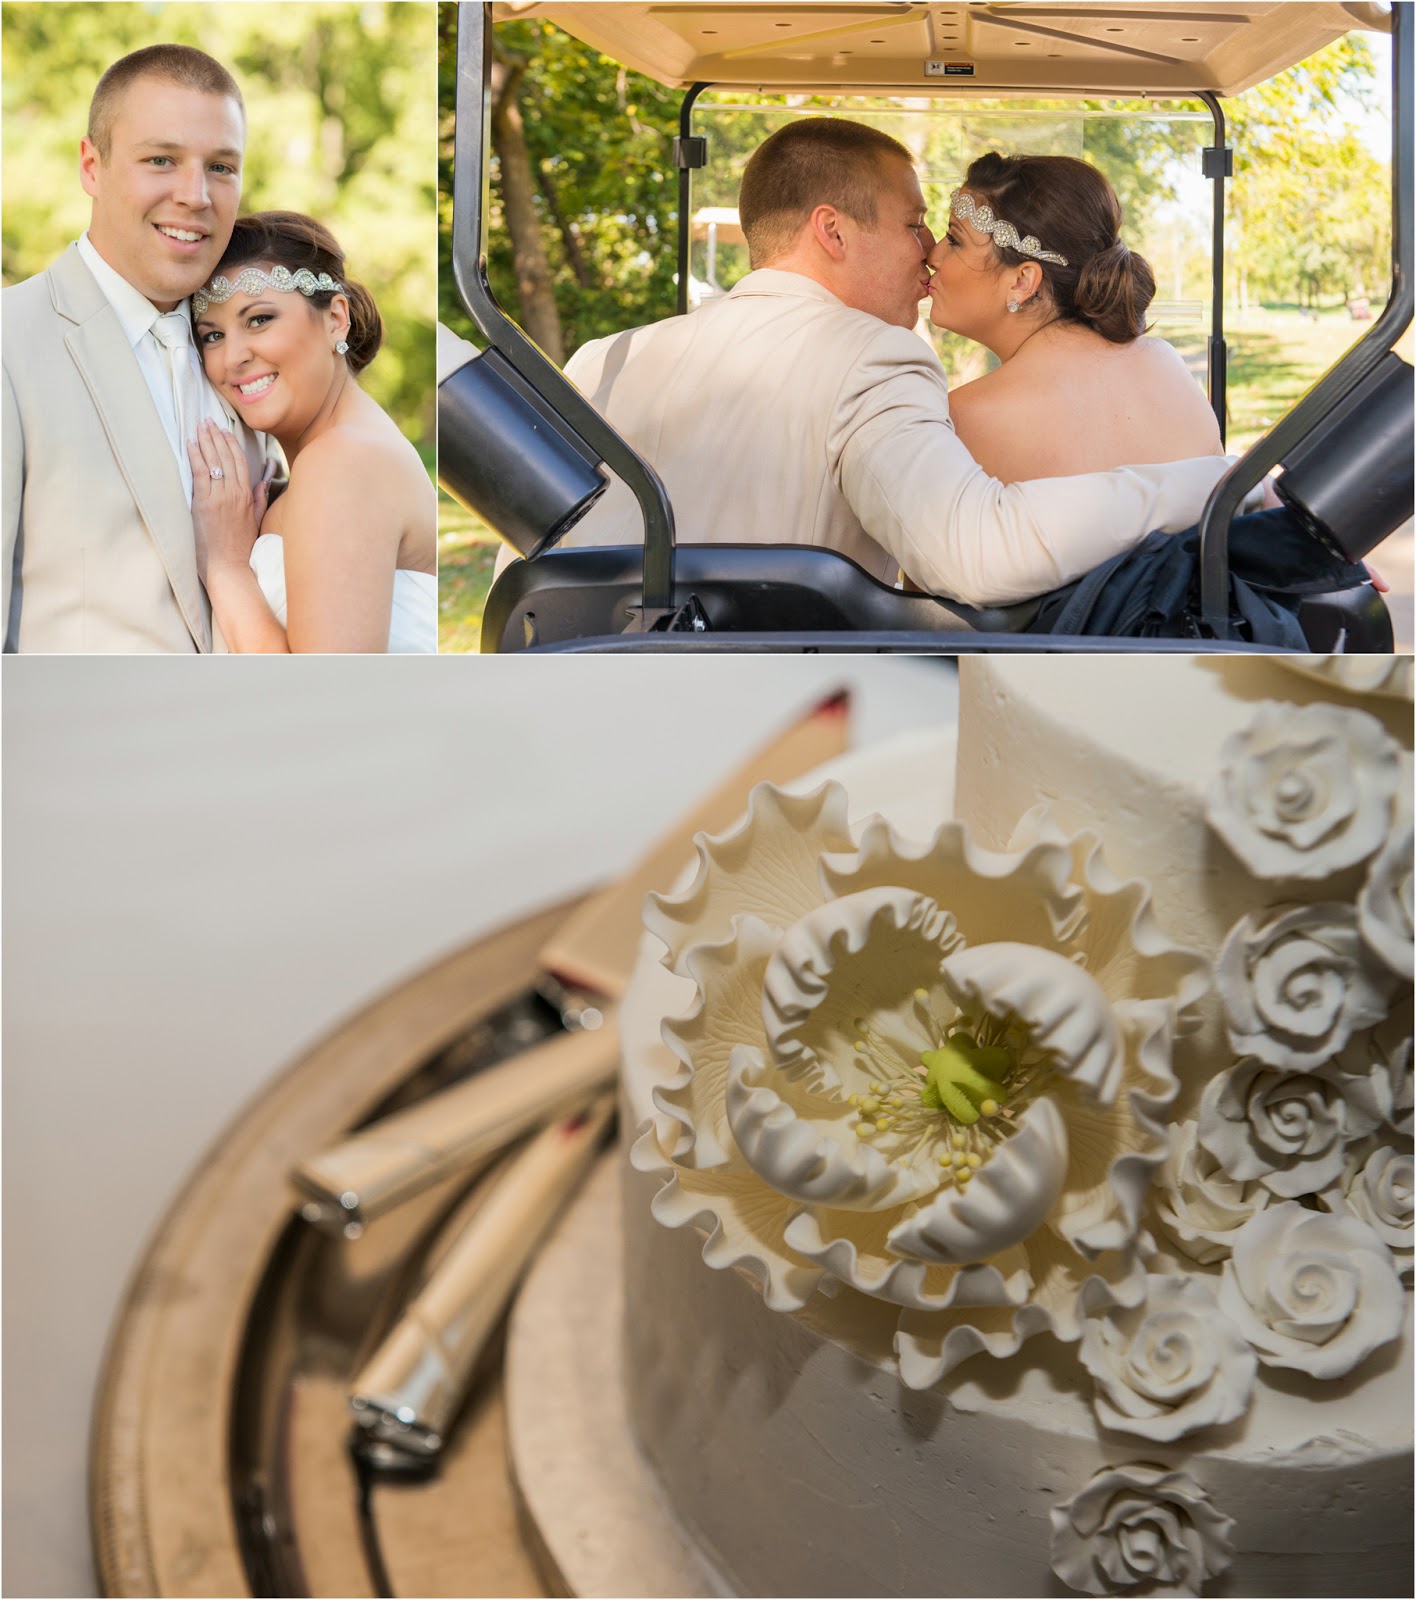
Congrats to Danny & Alissa! Thank you both for having me come and be a part of your special day!
Thursday, May 22, 2014
Bi-weekly Beaut-itorial & SUMMER SENIOR SPECIAL
I've got some good stuff & some good stuff for you today!
What better way to kick off summer than with an awesome deal? 2015 seniors, I've got one for YOU!

YAY! GLAM sessions are my favorite! Don't wait to book your session, I have limited spots open!
On to the other 'good stuff'...the bi-weekly beaut-itorial by Lindsay! P.S. sorry for the funky layout and spacing..I have no clue what blogger is doing, it looks so much better as a draft and I can't fix it :/
As a Makeup artist I constantly have clients and friends asking me what products I use at home. I have decided to compose a list of some of the beauty products I just cannot live without.
#1- Neutrogena Oil free Pink Grapefruit Acne Wash. I was not blessed with good skin; in fact since adolescence I have been battling overly oily skin, and acne. I found that this scrub works very well in combination with my skin. They also make one without the exfoliating beads for those who prefer their face wash with out them. I actually use them both.

#2- Nerium AD Night cream & Day cream. I began using these products about a year ago, and the results have been incredible, almost unbelievable. I don't dare go to bed at night without the anti aging night cream, it not only reduces aging lines, but it also has reduced the size of my pore and has kept my acne at bay. I am young enough that I really don’t have a lot of aging lines, but I am counting on keeping them away as I get older with this product. The Day cream has also been amazing, I normally go for an oil free moisturizer, but now I am using the day cream. The Day Cream makes an amazing primer and helps my makeup stay put. These products have been a life changer.

#3- Physicians Formula Twins Concealer. This concealer is my favorite. I use the yellow to lighten and brighten up the under eye area, and the twin side of the concealer to cover blemishes. This product is relatively inexpensive and can be found at most major supermarkets.

#4- Urban Decay Eye Primer. One of the biggest complaints I get from friends about their make up is that their eye make up does not stay put, and creases mid day. This is the eye primer I use at home and with it I never have that problem.

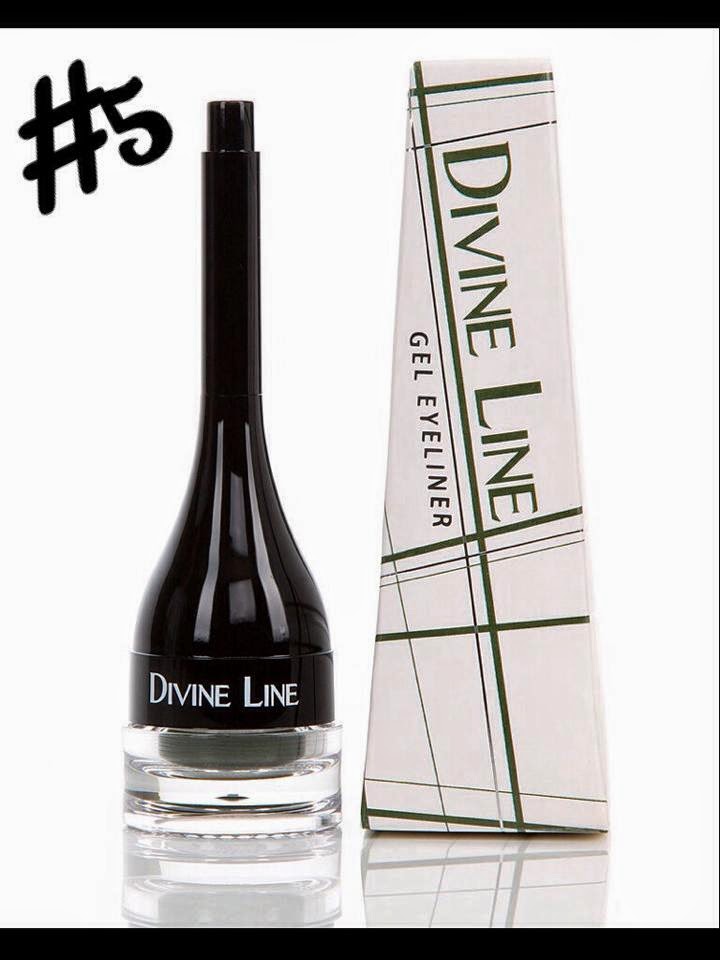
#5- Divine Line by CoastalScents.com. This Gel eyeliner is my absolute favorite. It goes on nice and smooth and has incredible longevity. I can't tell you how many clients of mine have raved about how well their eyeliner stayed throughout the day or their special event. Yep, it's a good one.
#6- CoverGirl Brow & Eye Makers. This is what I use to fill in my eyebrows. Yes it's an inexpensive drug store brand, but it works. If you would like some tips on how to use it refer to the eyebrow Beaut-itorial.

#7- Bare Minerals Well Rested. This is an amazing eye highlighter/eye brightener. I love using this in combination with the physician’s formula concealer to hide any dark circles.

#8- Egg shaped makeup sponge. I love these sponges; they are perfect for getting into the edges on your face.

#9- Angle Brush. This is the very angle brush that I use. I can't even tell you how many different purposes it has. I use this brush for eyebrow powder, eye-lining, and eye makeup. I could not live without it.

#10- Bare Minerals Matte powder foundation. I use this powder for setting my foundation, and because I have oily skin, yes I get the Matte. This powder does a great job and setting my makeup and keeping it in place.

#11- Clean & Clear Oil Absorbing sheets. These sheets are a must have, especially if you have oily skin. You simply take one out, dab it on your face and then reapply your powder. It’s a great way of freshening up your face mid day.

#12-NYX Matte Lip Cream. This lip cream is my new favorite thing to wear on my lips. When it comes to make up I often tell my clients to either play up their eyes or play up their lips, but never both. Most days I chose to play up my eyes and go with a soft, nude, matte lip. I have this lip cream in many different colors but I would have to say that my favorites are Stockholm, Abu Dhabi, and London. The color has great longevity, and if you prefer a gloss, you can always finish it off with a clear lip shine.

#13- NYX Matte Finish Setting Spray. Once I have all my makeup completed I use NYX's setting spray to set my makeup for the day. I simply pump it a few times and mist it over my face. This product really does give your makeup more longevity.


-Lindsay
Wednesday, May 14, 2014
BI-WEEKLY BEAUT-ITORIAL
Okay, so I'm a week behind (already- sigh, I know) posting the Bi-weekly Beaut-itorial! So, There will be a post this week, and one next week as well! YAY!
Now, I'll ''turn it over'' to the lovely Lindsay for a beaut-itorial on EYELINER, one of my biggest make-up peeves when done wrong!
Eyeliner can be a touchy and controversial subject when it comes to beauty. When eyeliner is applied correctly it can finish off a beautiful makeup job; or it can make the eyes look too small, too dark, heavy, and even tired when done incorrectly. I am going to share my own personal opinions and tips regarding eyeliner.

Why wear eyeliner? Eyeliner is not an absolute must, but it can make a huge difference for setting off beautiful eyes. Eyeliner can take your basic eye makeup to a complete look that accentuates the shape of your eye and even your lashes. Eyeliner can be sexy, chic, subtle, but can also be far too sharp, overly dramatic, or sloppy. If you already know eyeliner is not for you, there are other, more subtle ways of accentuating the lash line. Ultimately you need to decide if you want your liner-look to whisper, talk, or shout (not shriek).
When do you apply eyeliner? I personally apply liner after the eye makeup is complete, but before I finish off with Mascara. If you are applying strip false lashes, you will want to line the eyes once gently before and after you apply the lashes in order to conceal the strip properly.
Knowing what kind of liner to use can be very overwhelming. There are so many options from powder, gel, cream, or liquid. Each method comes along with its pros and cons. Powder eyeliner is a decent choice, but it requires that you use a good quality, fine-tipped brush. I prefer a fine-tip angle brush. Powder is a good choice if you prefer a subtler look. When applying powder liner be careful that excess powder from the brush doesn’t fall-down on your cheeks or below your eyes, causing you to have to clean up afterwards; tapping the excess powder off the brush will help.
Pencil eyeliner is another option, but if not applied properly can smear and smudge through out your day, and will not wear for a long time. If pencil eyeliner is your liner of choice I suggest setting it afterwards with black powder using a fine-point angle brush. Setting your pencil eyeliner is a real game changer and will allow it to wear all day and stay put.
 My favorite eyeliner option is gel or cream liner. Gel liner tends to be less of a problem when it comes to application. Gel or cream eyeliners also rein supreme when it comes to longevity. The gel liner that I use comes along with a fine-point brush to apply with. The brush must be cleaned after each use to avoid sticky, clumpy build up, and to help a smooth application for the next days use. It takes a little more practice to achieve a nice smooth line with gel liner, but after a few applications you will get the hang of it. If I have a long crazy day ahead of me, I will still set my gel eyeliner with black powder.
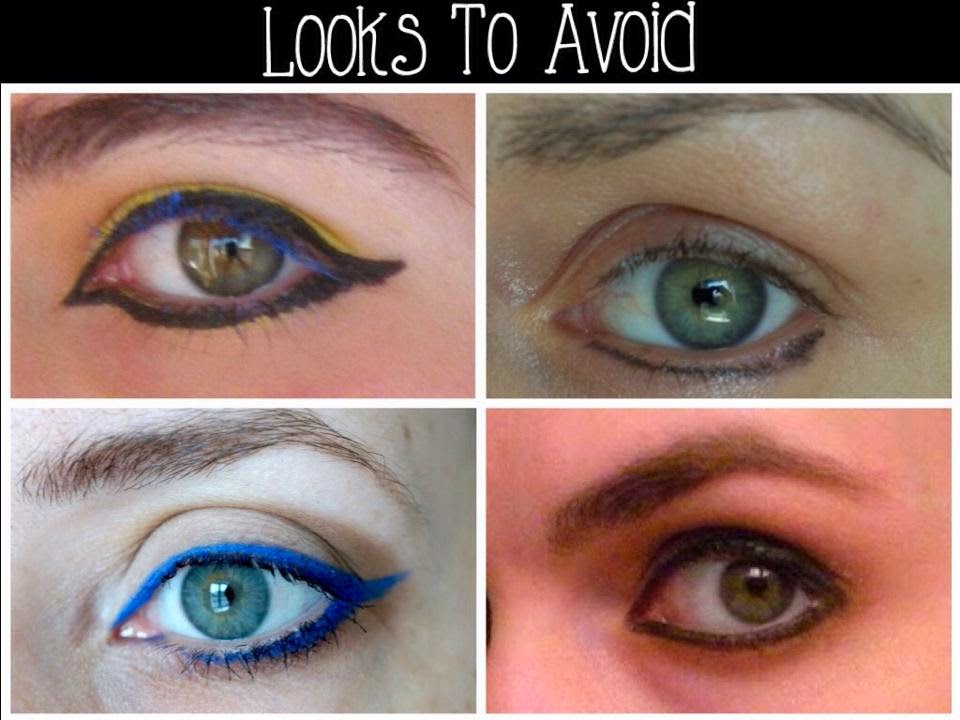
Eyeliner also comes in a large array of colors, just about any color your mind could dream up. I find it most flattering however to stick to neutrals, from a soft brown to black, black being the most dramatic on the spectrum. Nothing makes me cringe quite like an electric blue liner; especially for an every day look.
How to apply eyeliner. I find it easiest to apply liner while sitting down, or leaning over the counter, resting your elbow on the counter to steady your hand and have maximum control. I use my finger to pull my eyelid flat, although some makeup artists believe that promotes eye wrinkles and suggest against it. Starting from the inside corner of my eye to the outer eye I apply with one smooth and fluid stroke.
When applying to the upper lash line, you will want your liner as close as possible to the lash-line. Starting at the inside corner of your eye keep the line as thin as possible, (you can always build up the liner on the outside corners for a more dramatic effect). Take your line just very slightly past the outer corner of the eye. I am not talking about cat eye; we can save that subject for another day.
Again these are my personal professional suggestions for applying eyeliner for a classic every day look. There are also many things I would avoid when using eyeliner. Don't over-do it; you want your liner to blend with your eye make up not to over power it. Don't line your water line…like never. Lining your water line is not only unattractive, and harsh, but it also does not wear well and smudges after wearing a short amount of time. It is one of the eyeliner looks that I despise the very most. Don't apply liner to the inside corners of your eyes, or wear it all the way around your eyes. You don't want to look like your wearing goggles. Don't blend down your eyeliner on the bottom lash line; this creates a tired harsh look.

Applying liner to your bottom lash line is not necessary. In fact, if you have smaller eyes I would suggest against it, as it will only make your eyes appear smaller. If you chose to line your bottom lash line, I suggest only lining the outer corner to maybe 2/3rds of the lash line, making sure it meets the liner on the top lash line. This creates a more natural look. The point of liner is to enhance your eyes and eye makeup, not over power it.
Applying eyeliner takes practice and goofs will happen, don't allow yourself to get discouraged and keep a q-tip handy for any blunders. Use these tips and keep practicing to achieve the best eyeliner look possible, and you will be pleased with the results.

-Lindsay